How To - Pipe Buttercream Flowers
So we started making buttercream flowers at the bakery and I didn't really have much experience with it. On that same note, for those of you who maybe interested (professional or home chef), craft stores like Michaels or AC Moore offer Wilton cake decorating classes for very cheap...$20 for 4 classes. It starts off working with buttercream and escalates into fondant and a bunch of other cool cake decorating techniques.

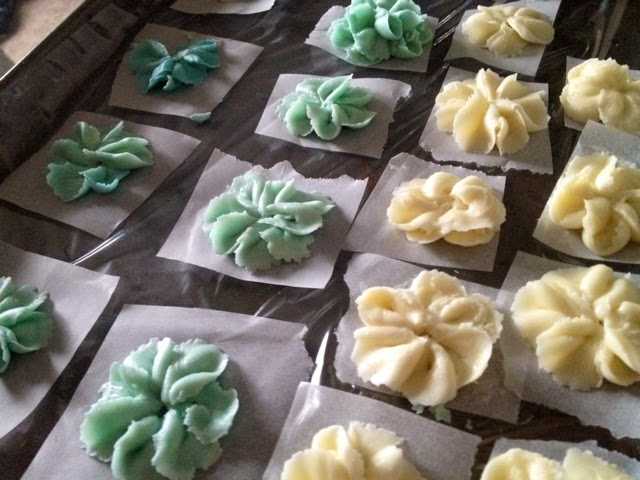
You can however just try and see if you can find a quality video on YouTube and learn that way. I used a rose tip to do the flowers you see in the picture. My "tip" with the buttercream flowers is to work with a good consistency buttercream. If it's too hard or soft, you may have trouble getting the pretty and delicate petals to form properly.

Also, in case it's not evident, you form the petals one at a time. You want the thick end of the tip to be on the bottom because the thinner side on top forms the outside of the petals and you want that to be thin and delicate. Play around with how you angle the tip because that results in differently shaped petals. You'll also need a flower nail. (I didn't have one at the time and sort of just made one by gluing a stick and a small jar cover together). How quickly or how much you turn the nail in between each piping also affects the size of the petals.

Just so you get a picture in your head, the whole rose tip is basically the side of each petal, so you're kind of making upside down teardrop shapes over and over again until you get a whole flower. Remember to stop piping after each petal and then continue another petal either slightly over the previous petal or under the previous petal, but just be consistent. Other than that, practice is key. You do about fifty of them and you'll start getting the hang of it.