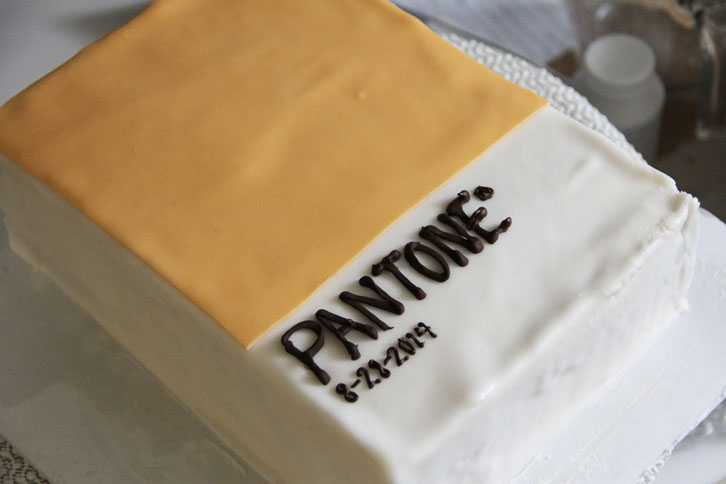
A Pantone Birthday Cake
I'm making a cake for a dear dear friend's birthday this Thursday, and he happens to be obsessed with color and design. A couple months ago, I was in Urban Outfitters (more for their nifty gifts and gadgets) and came upon this book, Colorstrology: What Your Birthday Color Says About You. It's really just a book you can flip through that tells you your specific Pantone color and your personality and all that jazz. Anyways, when I was thinking up ideas of what to make for the birthday cake, this Pantone idea came to mind. You do have to play around a bit with fondant and getting the right color, but if you have friends or family that's really into this stuff, it would be super neat for them to receive something like this.
A couple of tips - before even putting the fondant on, make sure your cake is smooth. (See, mine wasn't and you can totally see that.) What that means is:
- Make sure you crumb coat your cake, and actually, I would go further and frost your cake again to ensure all the sides are smooth. When you put the fondant on, any bumps or uneveness from your cake really shows especially if your fondant is rolled thinly.
- Which brings me to my next point! I don't think I bought enough fondant to work with, so I rolled mine out super thin. Now, that's good as no one ever wants to eat too thick of a layer of fondant, but the thinner the fondant layer, the less forgiving it is at hiding flaws, which may have been on your cake from frosting it unevenly.
- Also, and this is important throughout your frosting process, keep your cakes cold - it's easier to cut, frost, and decorate that way. I put my cake in the freezer for about an hour before putting the fondant on it.
I'll put the recipe out for the birthday cake later, but it's the same one as the birthday layer cake from Milkbar, only I added a tad less sugar to it and doubled the frosting recipe.
Making this cake was really just for fun. I make a lot of decorations with fondant at the bakery, but we don't really do fondant cakes like this, so it was nice to play around with.
I started off making a quarter sheet pan of cake.
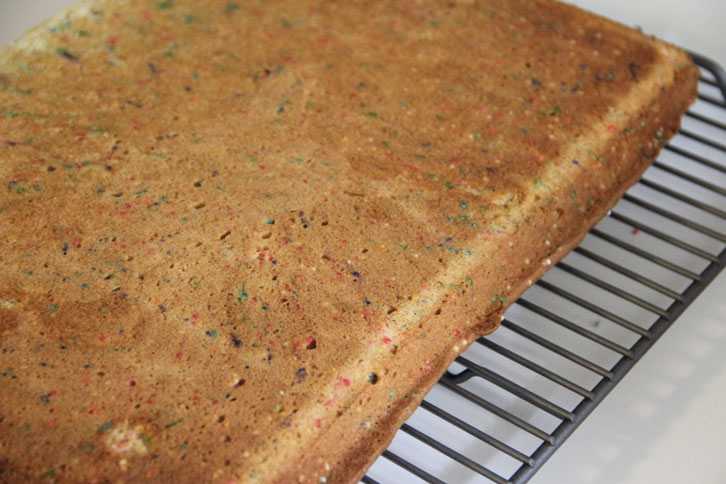
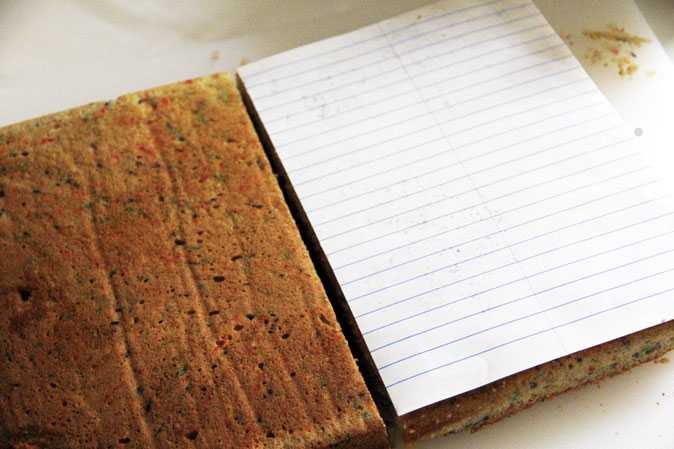
Then I took a sheet of notebook paper and cut the cake to the size I wanted, keeping in mind I wanted 2 layers. Again, the cake cutting process is way easier and less crumbly if you stick the cake in the refrigerator for a couple hours prior to cutting.
Oh, I found a piece of white foam board to use as a base- I know, people don't normally find pieces of white foam board in their house, but I was using this as a backdrop for photos. Cardboard from a box will work just fine.
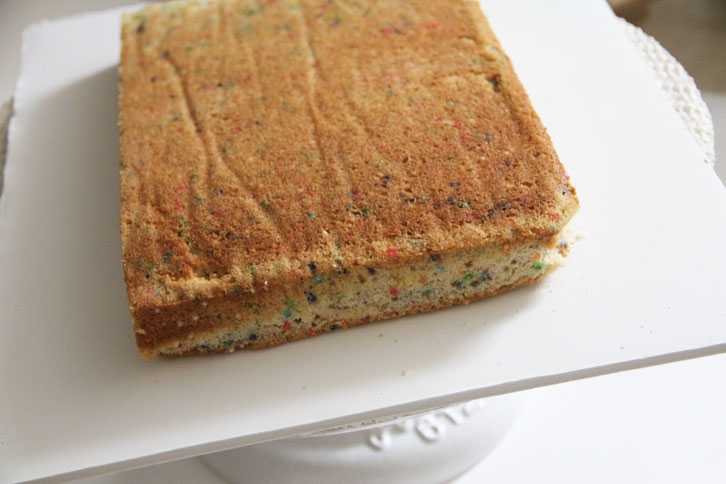
This was also my chance to use my new Ateco cake stand! So pretty...It was a bit expensive, but I thought it could double as a serving piece too. (Also I put about 1/3 of the frosting on this layer.
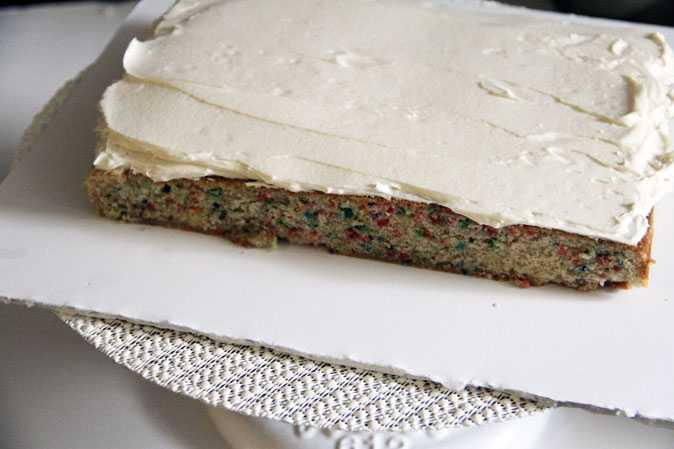
Milkbar's version called for birthday cake crumbs, but I didn't feel like making them...though I had made them before and they were lovely, but I decided to crumble up my favorite Teddy Grahams on them instead.
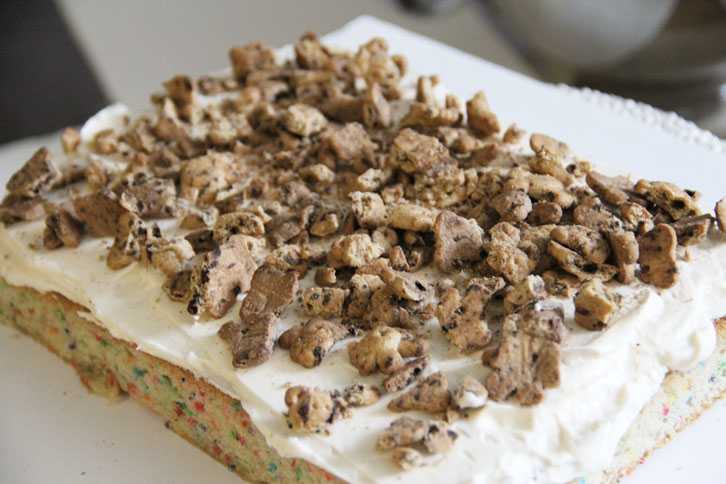
I frosted one side of the second layer and slapped it right on top making sure everything was centered.
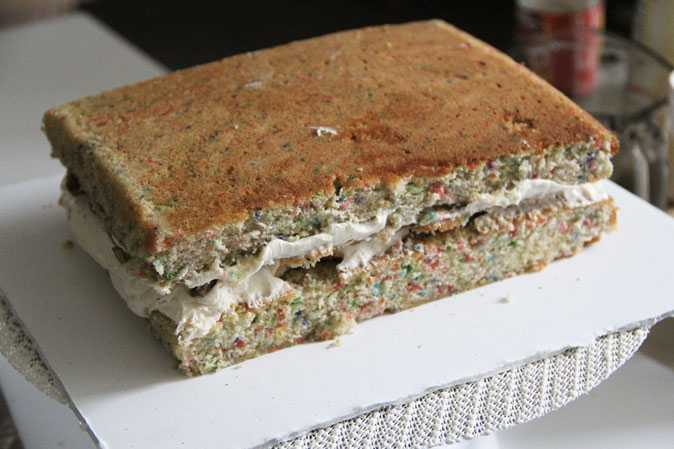
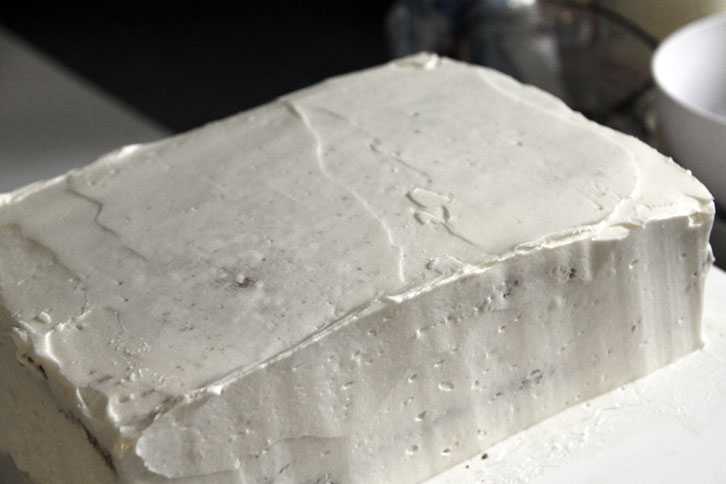
This was when I realized I needed to make a second batch of frosting because I clearly didn't have enough for the crumb coat.
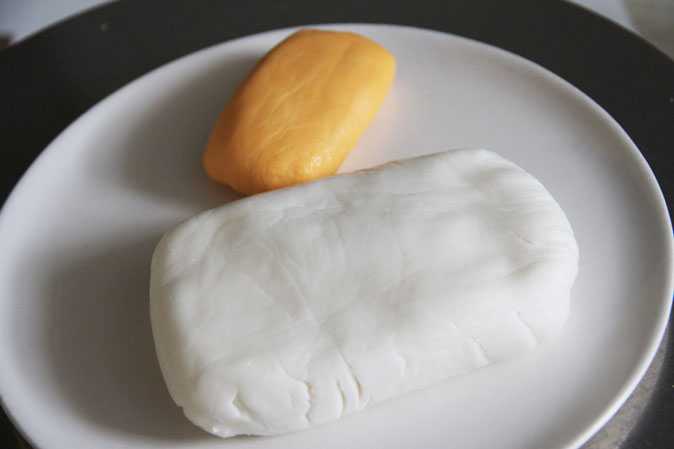
This is fondant. Remember that you should always knead it first to get it soft. It's also a good way to keep the fondant from cracking or showing uneven distribuitions of color because sometimes it separates while in the box.
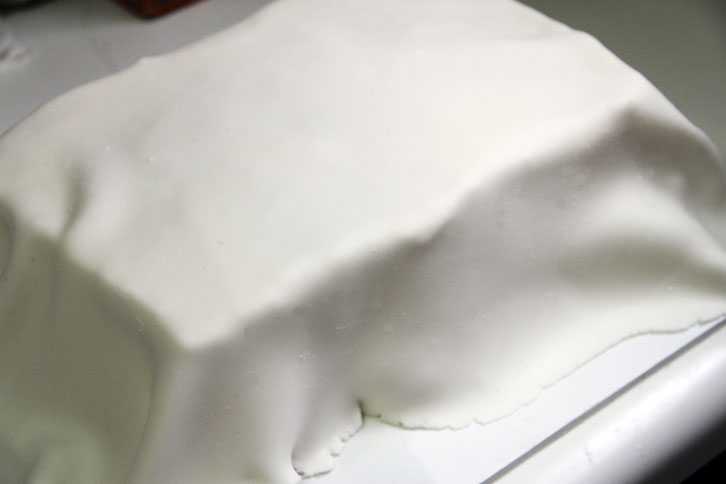
There are some good videos showing how to wrap fondant on a square cake. I have to say this was a bit difficult as I was working with a very thin piece of fondant and I didn't have that fondant smoothing tool. But to make it easier on yourself, it's always better to roll a bigger piece of fondant than you think you need.
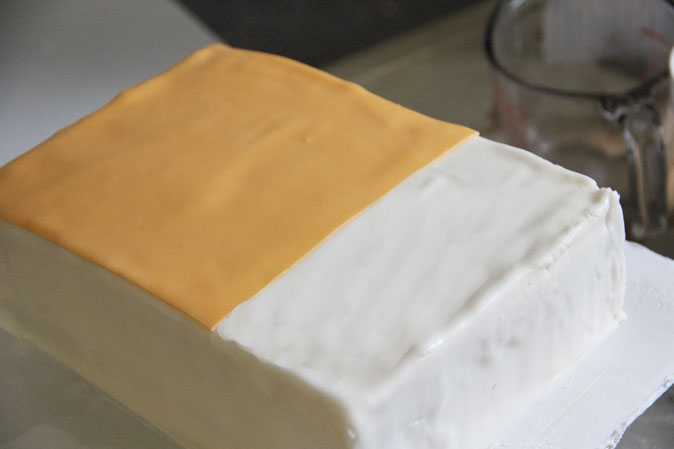
Next I rolled out the orange fondant and cut it to the measurement I wanted and tried to center that on the cake. It's good to refer to some images of how the Pantone logos look as you're doing this.
Finally, I melted some chocolate and put it in a plastic ziplock bag and piped out the letters. Note though that I cut one bag with a bigger tip and one with a smaller one. The smaller one is necessary to make the registered trademark mark and also to put the number code on the bottom. You'll see that I didn't write the code for...celestial orange, I think. I put my friend's birthday instead.
